Tuesday, December 02, 2008
The SheepShaver Chronicles, Part 2
Blog Entry #129
Let's make a hard disk
With a "new world" ROM file now in hand, it's time to get the SheepShaver show on the road. Our next task is to create a virtual hard disk: in theory, we could do this via either the SheepShaverGUI application or OS X's Disk Utility application; in practice, we'll exercise the former option as my attempts to get SheepShaver to boot from a Disk Utility-created volume have been uniformly unsuccessful.
So, launch the SheepShaverGUI application by double-clicking its icon, and then click the Volumes tab (if it's not already open).
Click the Create... button; this opens a Create Hardfile window in which we'll (a) choose a location for our virtual hard disk, (b) set its size, and (c) give it a name.
(a) Does it matter where you locate the virtual hard disk? Not really. But the logical place to put it would be in the Unix Volumes directory, so in the Create Hardfile Directories list on the left-hand side, scroll down to the Volumes/ option and double-click it.
(b) You've got plenty of hard disk space on your Intel Mac, right? I encourage you to give as much as 2 GB of space to the virtual hard disk - I find that SheepShaver can crash chronically upon attempting to boot from an almost-full volume. (Regarding byte prefixes, I trust you know that kilo-, mega-, giga-, and tera- do not have standard metric definitions - e.g., 1 GB is not 109 bytes - but have slightly different definitions reflecting the base-2 nature of digital data: 1 MB is 1024 (210) KB, 1 GB is 1024 MB, etc.)
(c) We'll name the virtual hard disk Classic HD.
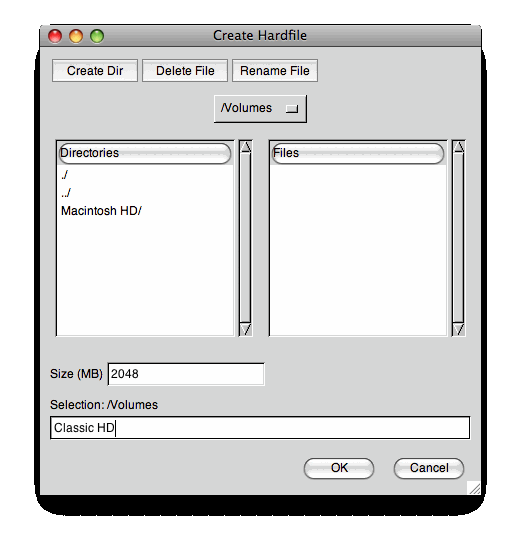
Click the Create Hardfile OK button to finish up; this returns us to the SheepShaverGUI Volumes tab:
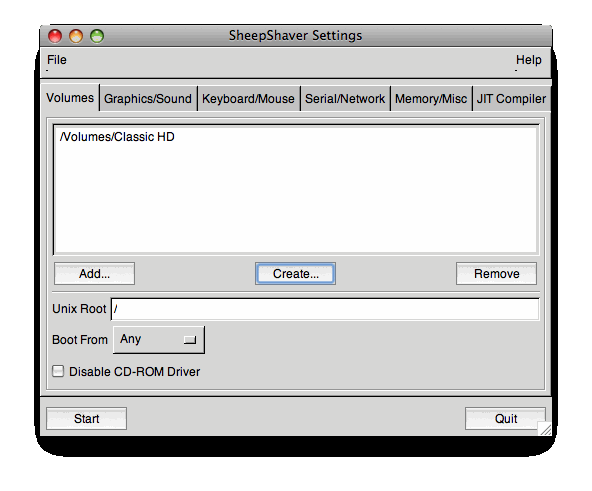
(SheepShaverGUI volumes may not seem to be genuine volumes in the sense that they do not show up in Disk Utility's "disk, volume, or image" list and would appear as "plain text" files if saved in a more accessible location, e.g., in the Documents folder, but they are indeed volumes, as we shall see.)
Before moving on: the Volumes tab's Unix Root field sets the interface point between the emulated environment and the 'real' (Intel/OS X) environment; contra what a number of SheepShaver tutorials will tell you, this field can be left alone, i.e., at the / (root) directory. We'll discuss moving files/folders back and forth between the emulated and real environments later.
ROM/RAM
The logical place to put the ROM file is in the Unix System directory. You'll need to have "administrator privileges" on your computer to move the ROM file into your hard disk's System folder; the confirm( )-like box below pops up:
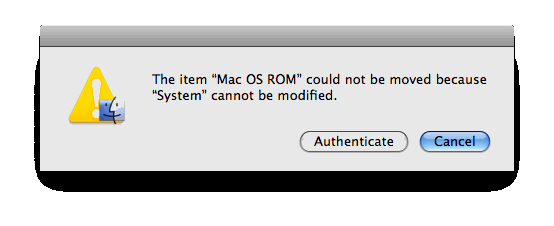
Click the Authenticate button. Another box will pop up asking you for your administrator password: type it in and click the OK button, and you're good to go.
To point SheepShaver to the ROM file:
(1) Open the SheepShaverGUI Memory/Misc tab.
(2) Click the Browse... button to the right of the ROM File field - this opens a Browse file window.
(3) In the Browse file Directories list, double-click the System/ option.
(4) Select the ROM file in the Files list on the right-hand side and then click the OK button.
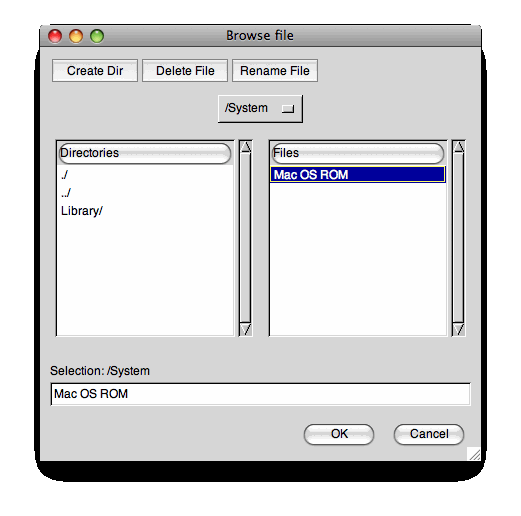
This brings us back to the Memory/Misc tab
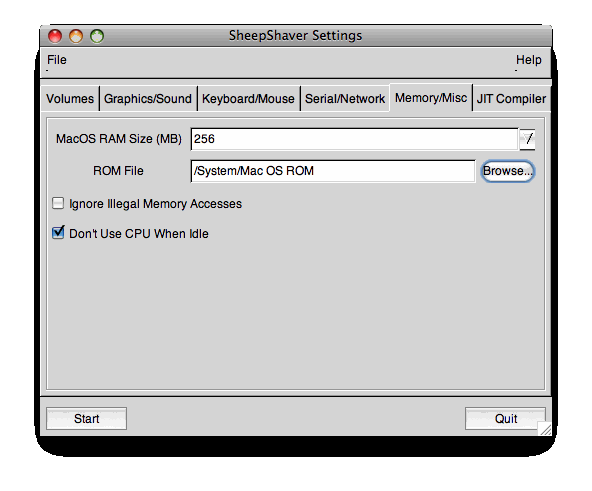
in which we also allot the amount of RAM that SheepShaver will use in running the emulated environment; as shown above, I recommend a RAM size of 256 MB.
Other SheepShaverGUI parameters
• À la a normal application, SheepShaver displays its Classic Mac environment in a window, whose dimensions can be set via the SheepShaverGUI Graphics/Sound tab:
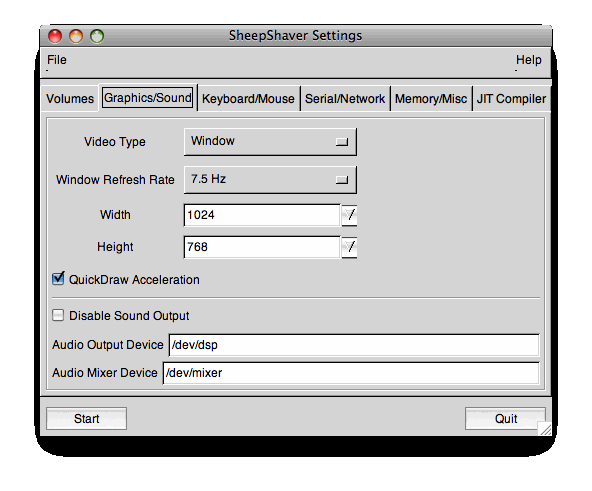
The Width and Height fields respectively set the width and height in pixels of the SheepShaver window; you can set these fields independently and (within reason) even input custom numbers into them - I myself prefer a 'traditional' 1024 × 768 window. (The Video Type control can be toggled to a Fullscreen option for creating a 'maximized' SheepShaver window that covers the entire screen, but I discommend doing this.)
• Contra the "Running Classic Software on an Intel Mac" article cited in the previous post, I find that it is not necessary to track down a keycodes file and point SheepShaver thereto via the SheepShaverGUI Keyboard/Mouse tab, which can be left alone.
• I'll briefly discuss my attempts to connect SheepShaver to the Internet via the SheepShaverGUI Serial/Network tab in a subsequent post.
Getting system software onto the virtual hard disk
We are now ready to install Mac OS 8.6 onto the Classic HD volume. I insert the Software Install disc into my Intel Mac's optical drive; when the "iMac Install CD" icon appears on the desktop, I click the Start button in the bottom-left-hand corner of the SheepShaverGUI window. SheepShaver uneventfully boots from the Software Install disc (FYI: the SheepShaverGUI Volumes tab's Boot From control (below the Unix Root field) can be left at Any for this operation - it's not necessary to toggle it to the CD-ROM option). SheepShaver does not initially recognize the Classic HD volume:
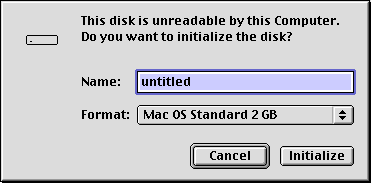
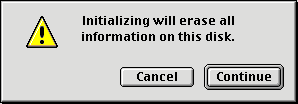
Type Classic HD into the Name: field and click the Initialize button. The box below then pops up - click its Continue button to finish the booting process.
Here's what we've got for the SheepShaver Software Install desktop:
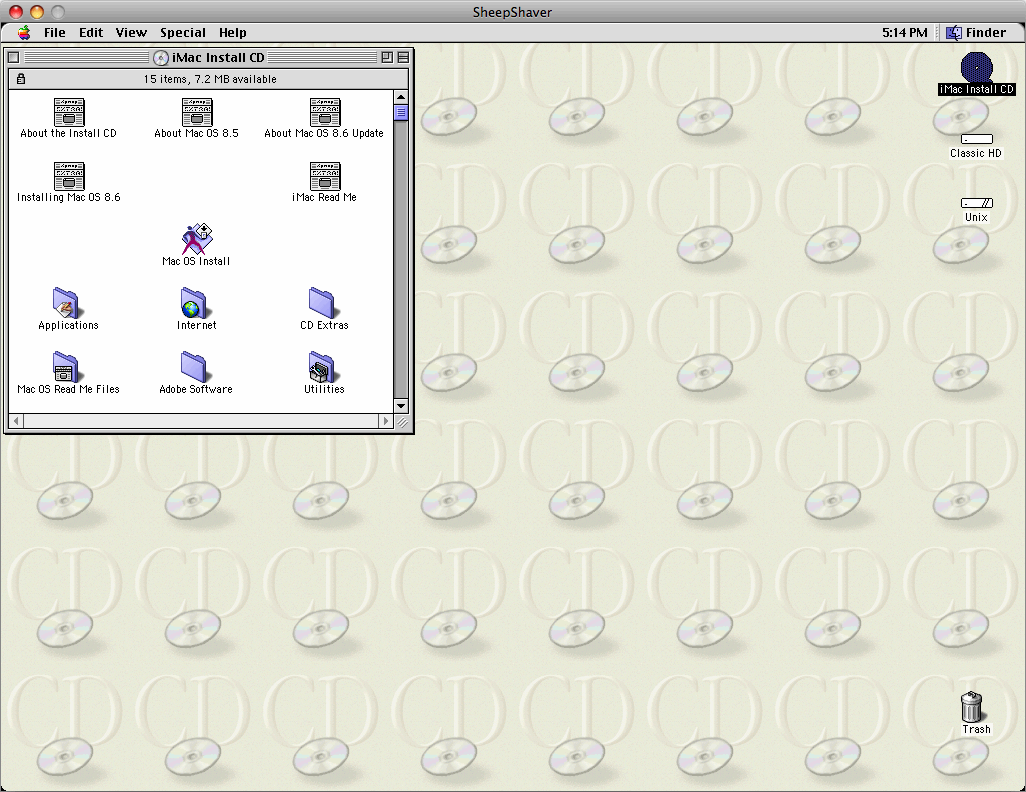
So far, so good. But attempting to launch the Mac OS Install application pops up the following alert( ):
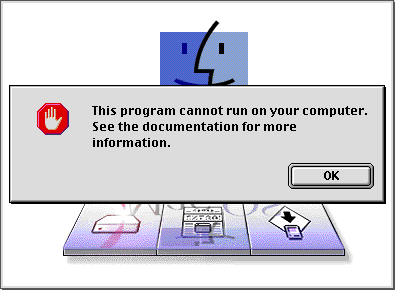
I see that this also happened to a David Nethery in the comment thread of the "Running Classic Software on an Intel Mac" article; a subsequent commenter, Michael Ojaste, identifies the problem:
Most likely the OS 8.5 disk you have was provided to you with the purchase of a new Mac. Mac OS install discs are sometimes encoded to work on ONLY the series of Macs they ship with. The installer will not let you install the OS on an iMac lets say if the OS disc shipped with a Blue and White G3. You need a clean store-bought full install of the OS or a disk installer that does not have that limitation.So it seems that getting Mac OS 8.6 onto the Classic HD disk will require the use of an OS 8.6 'retail package' installation disc. Oh dear, what are we going to do? Tune in to our next episode to find out.
reptile7
Actually, reptile7's JavaScript blog is powered by Café La Llave. ;-)

